One of my goals with these articles is to make them straight forward and easy to understand. This allows people with different backgrounds and experience levels to benefit from them.
Sealing your asphalt driveway is a great way to extend the life of your pavement. There are different tools and methods you can use to seal your driveway. Below I try providing a simple and complete list of items you may need to seal your pavement.
Items you will need
- Tape Measure – You will need to measure your driveway or parking lot to determine the square footage. The asphalt sealer should tell you approximately how many square feet each gallon covers. The coverage rate also depends on how thick or thin you apply the sealer. I would recommend buying extra sealer, so you don’t run short.
- Leaf Blower or Air Compressor – This is a great way to remove dust and debris from your driveway. I would also have one handy during the sealing process in case leaves or grass need to be removed from your driveway.
- Pressure Washer or Hose – I recommend pressure washing your driveway before sealing. Sometimes it can be difficult to tell if there is a thin layer of dust on your driveway. Keep in mind that the life of the sealer will be extended if it has a better bond to the pavement.
- Broom – You may not need a broom if the leaf blower and pressure washer do a good job cleaning the driveway.
- Masking Paper and Tape – It is easy to accidentally get sealer on nearby concrete. I recommend using masking paper or tape to help protect your sidewalks. It will also provide a straight edge wherever you start and end sealing.
- High Quality Crack Sealer – You will need to seal cracks before applying the sealer. I recommend buying a higher quality crack sealer. The more expensive crack sealers tend to have more of the better ingredients (e.g. asphalt cement, polymers, fibers, etc.). This will typically help provide a more flexible sealer and better bond to the pavement. You will typically need to apply the crack sealer a certain number of days before sealing the driveway or parking lot. Feel free to check out my other article on supplies needed for crack sealing.
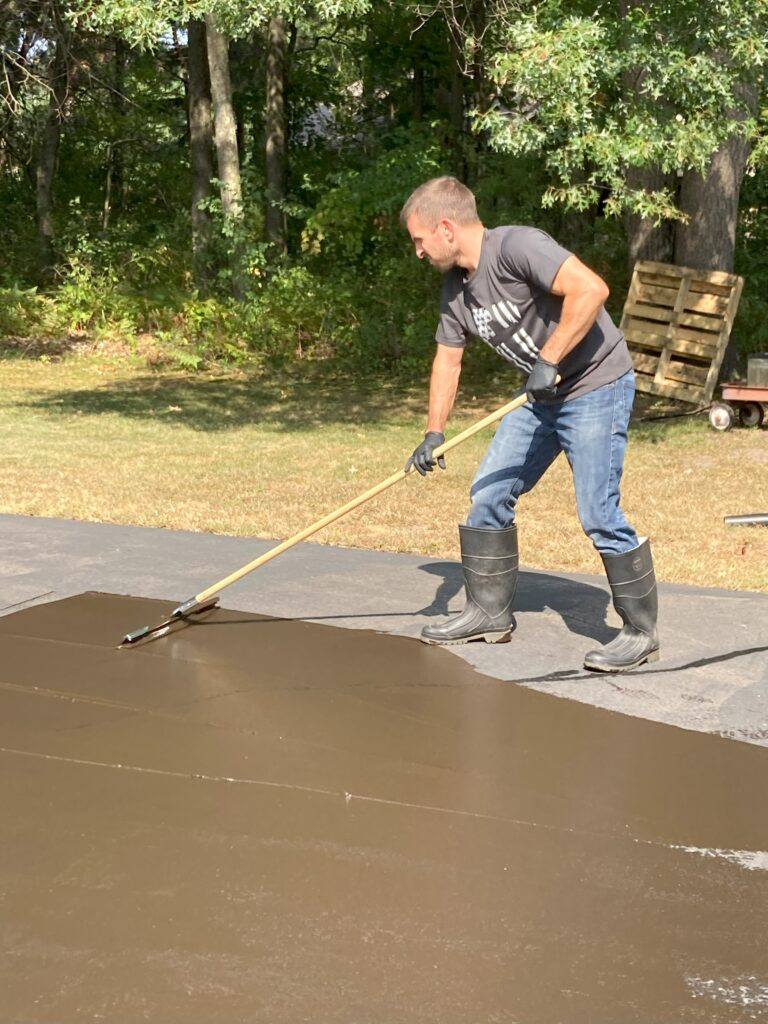
- Squeegee or Two – Having multiple squeegees is a good idea in case the first one breaks or gets grass or dirt on it. You may want to buy one squeegee that is stiffer and one that is more flexible. You can use the one that works best for you.
- Drill and Mixer for Drill – You will use this to remix the asphalt sealer. This is way easier and faster than doing it by hand. Sometimes it can be difficult to get a uniform product if the water and asphalt cement have started to separate but do your best. There is less of a chance of the materials separating if you use the asphalt sealer soon after buying it.
- High Quality Asphalt Sealer – The science and engineering are amazing for asphalt sealers, but to keep things simple when looking for a sealer, I would concentrate on the amount of asphalt cement (sticky glue), polymers (can provide a better coating, improve bonding to the pavement, increase flexibility) and overall solids (not every brand will list this). Generally speaking, the more expensive products will contain more of these ingredients, and it should extend the life of the product. If you want a sealer that meets the requirements above, you might have better luck with a commercial grade sealer. Feel free to check out my other articles on picking the right asphalt sealer.
- Old Clothes and Shoes or Rubber Boots – Be prepared to get some asphalt sealer on your clothing.
- Safety Glasses or Goggles – These are nice to have when you are using the drill and mixer.
- Caution Tape – You can use this to block off the driveway to prevent vehicles from driving on the asphalt sealer. You will need to follow the manufacturer’s recommendations for how long traffic needs to stay off the driveway.
Sealing Cracks
Crack sealing and miscellaneous repairs need to be completed before sealing your asphalt driveway. Make sure you follow the manufacturer’s recommendations on set and cure times for each product. You can check out my other crack sealing articles for a list of items needed and for reasons why you should crack seal your driveway.
Preparation
You first need to decide how much time you want to spend preparing your driveway or parking lot. The cleaner the surface is the better the sealer should bond, and this should increase the life of the sealer. Since I know people are busy, I try to find a balance. I would recommend the following:
- Cracks sealing and repairs should be completed before starting the sealing operation.
- Use a leaf blower or air compressor to blow off the pavement.
- Use a pressure washer or hose to wash the pavement.
- Use a leaf blower or air compressor again. If you still notice a lot of dust or dirt you may want to repeat steps 2 and 3.
- Apply the asphalt sealer. May need to apply two coats of sealer depending on the product you choose.
- Protect the area from traffic.
Make sure you take your time when first starting to apply the asphalt sealer. There are multiple ways to apply it but try to cover the edges first and then work back and forth in the center. Don’t worry if it isn’t perfect. The most important thing is to get asphalt sealer on the driveway.
